There are pre-built queries in the Query Tool. This article will show you where to find these and how to export data from them.
Accessing the Query Tool
- You will need the Query Administrator or Query View access level to view the Query Tool.
- To assign positions from the Query Tool, you will need the Position Administrator access level to see the option for Mass Assign Position.
- To assign statuses from the Query Tool, you will need the Status Administrator access level to see the option for Mass Assign Status.
- Administrator access will show all the options in the toolbar
To get to the Query Tool, follow these steps:
- From the Member Portal, go to Admin > Member Management
- Click on Query Tool
- Filter the list of reports by selecting "Member Essentials" under Category.
- Choose the report you want to run
- e.g. Member Roster - Current is frequently used as a roster to track current members and check their last logins.

Run - Refresh the Query
- Runs the query again and pulls the latest information.
Excel - Exporting Query Data
- Run the query by clicking on the name of the report
- At the top of the report, you will see a button that says Excel
- Clicking the icon will export all of this information to an Excel file
Take note, there are several reports such as Member Roster - Sustainer that will have a different menu. To export to Excel, click on the diagonal arrow on the top right > Export to XLS.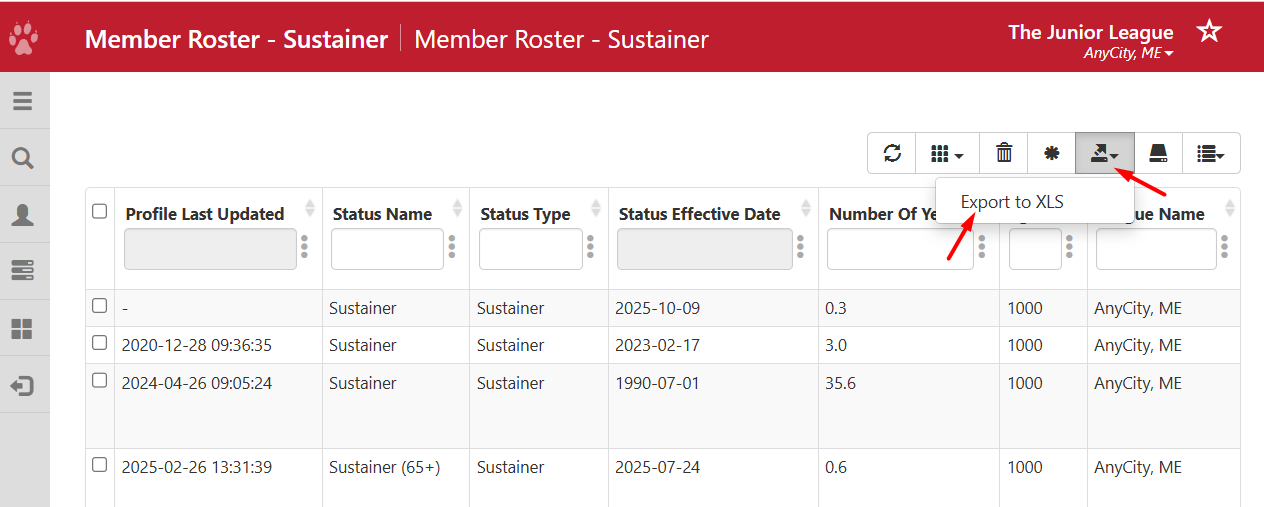
Email - Emailing From a Query
- Email all members that appear in the query
- At the top of the report, you will see a button that says Email
- Clicking the Email button will bring you to the Email Tool where you can craft and send an email to all members who were in the query. To read more about how to use the Email Tool, read this article: Sending a Mass Email
Move Columns - Rearrange the Data
- To change the order of the columns, click and drag the column names to change the display order.
- To make the AJLI ID column appear first, click on the AJLI ID name and drag it to the top of the list.
- Save your changes.
Column Display
- You will see a Report Columns page that lists all the columns for this query. To change the columns displayed on the report, check the columns you want to display and uncheck the wants you do not want to display.
- Alternatively, you can click on the X icon next to the name of the column you do not want to display. For example, if you don't need the Status Type column, remove this column by clicking on the X icon.

Mass Assign Position
- You can use the Query Tool to generate a list of member names and mass assign positions or placements. After you run the query, click Mass Assign Position and the Query Tool will automatically go to the Position Manager and Position Mass Assign tab. From there, the names will populate in the Pick One Or More Accounts section.

Mass Assign Status
- Similarly, when you run the query and want to mass assign statuses, you can do so from the Query Tool. Click Mass Assign Status and it will take you to the Status Mass Assign page where the list of members will automatically populate in the Pick One Or More Accounts section.

Organizing the Results:
Sorting Query Data
- Click on the column of data you want to sort on.
- For example, click on "Last Login" to see when members last signed in or sort on Profile Last Updated to see when members last updated their profile.