To make eTickets available, you can enable it in the Registration Tool. Take note, the calendar must be a Paid event for this to work.
Required access:
You will need the Registration Administrator or Administrator access level.
How to get there:
- Go to Admin > Member Management
- Select Registration Tool Manager
Steps to be taken:
- Find the registration tool where you want to set up eTickets and find the Setup.

- Below Confirmation Email, set Suppress (do not send) Confirmation Email? to No to avoid duplicate confirmation emails from being sent out.
- If you want to continue selling tickets until the end date/time, go to Advanced - General Settings > Default for shift sign-up end date/time, and choose End of shift.

- Find Advanced - eTickets and set Enable eTickets to Yes.
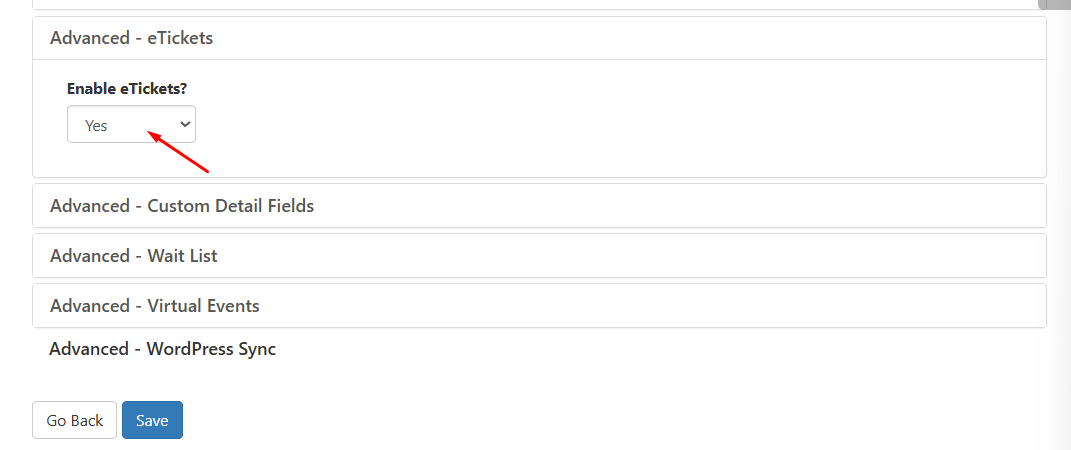
- Save your settings.
Follow the next steps to create paid options, eTicket templates and linking paid options to the templates in the eTickets - Step by Step guide.